Showing posts with label Sewing. Show all posts

Thursday, 13 October 2016

Fitting a Toile- An Essential Couture Skill

A toile is an essential part of the couture process. The fabrics being used are expensive and there would be no room for error. Making a toile allows you the opportunity to fit and plan the garment before you make it. It would save you damaging the final garment through unpicking.

Furthermore, fitting your toile will mean less time fitting your final garment. The markings on a toile need to be clear and can be marked with pencil or carbon paper. Marking on the waist, hip, bust and centre front and back will help you line up the garment when you are fitting. When taking in excess from the front or back, you must remember to check the side seams are still in the correct position. They can easily be pulled too far forwards or backwards. One way to stop side seams from travelling is to pin them in place, if something is being worn underneath that you can pin to. After the fitting, mark any corrections with coloured pencils. Then the toile can be altered and re-fitted until you are happy to make the final garment.

Thursday, 6 October 2016

Draping on the Stand- An Essential Couture Skill

The first step a major fashion house takes in the creation of a couture garment is a the toile. The toile is simply a calico garment. By draping calico on the stand a pattern can be created for a one off couture garment, that will perfectly fit the buyer.
As the name implies, this technique is best used for a soft garment rather than a stiff tailored one. Many Couturier designers, such as Lanvin and Chanel provide the drapers with a drawing. Then the drawing is made into a toile and once the toile is made the designer can critique and make changes.


Wednesday, 21 September 2016

The Art of Flat Tacking - An Essential Couture Sewing Skill

Alternatively know as basting, this is an essential skill of couture sewing. The term simple means a temporary stitch, that allows you to assemble your garment flatly.

Tacking is often seen as an unnecessary process but taking the time to lay out your fabric and tack together, can  transform your work from average to exquisite. This Elizabethan corset is made up of three layers. A layer of coutil, beige suiting fabric and a layer of lace.


The most basic flat tacking stitch is simply a long running stitch used to hold several layer of fabric together. This can be anchored with either a back stitch or a simple knot. Cotton is the best thread for tacking as it will snap much easier than poly-cotton. Making your life much easier as you remove your temporary stitching.

Monday, 12 September 2016

Top 5 Free Online Dressmaking Patterns

Lots of blogs and pattern manufacturers are generously offer free patterns. I've collated a top five favourites and would like to share them.


1. On The Cutting Floor Olivia Top - Off the shoulder tops are a big summer trend and you can now make your own. I'm currently making myself a yellow gingham version.

2.  Madalynne's Noelle Halter Bralette + Panty - My personal favourite of the Madalynne free patterns. I made mine out of blue jersey and wear it as a crop top.

3. Peppermint Magazine's Sewing School Kimono - I only found the Sewing School Patterns very recently but this pattern caught my eye. It's now on my list of future projects. 

4.  So Sew Easy Culotte Pattern - This Culottes are practical, comfortable and extremely glamourous.  

5. Colette Pattern's Sorbetto Top - So simple but the retro style means it's but boring. 

Also see

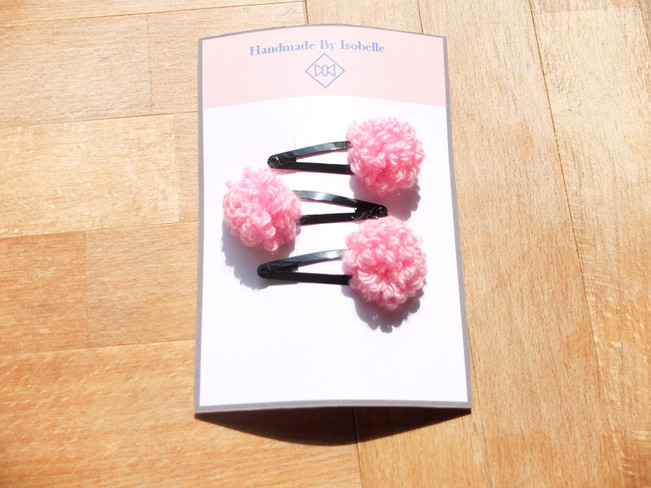
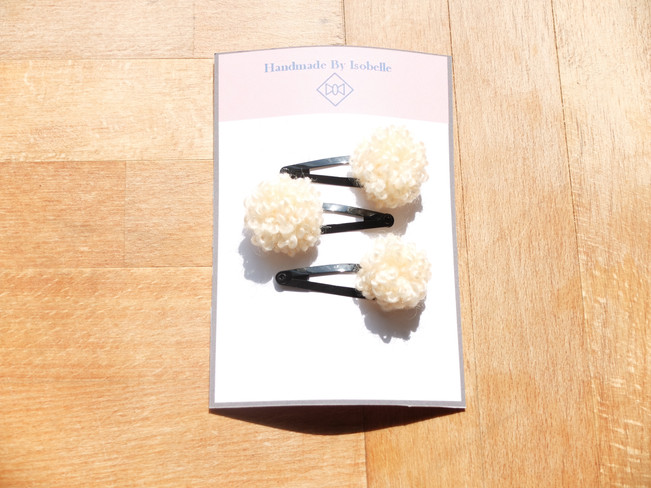
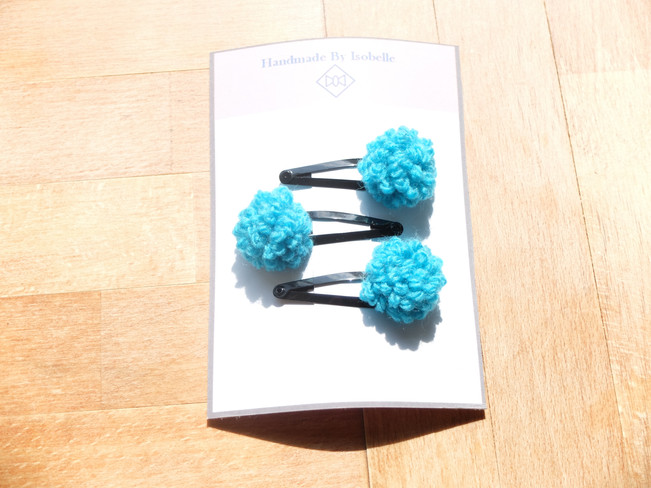
The Cutest Way to Wear POM POMS

Pom Poms are everywhere, so why not have them in your hair too. I've been making Daisy Flower Pom Poms for my Pom Pom hair clips. Now available on Etsy. Available in pink, blue, gray, white and peach.


Back Stitch

The second most important hand stitches, second to the running stitch. It leaves you with a solid line of stitching which I think is more aesthetically pleasing than a running stitch. I recently used back stitch to make a Fedora.
Sew a single straight stitch. Push your needle up a space ahead, then bring your needle through the same hole as the previous stitch. Continue the process, leaving with an unbroken line of stitching.

Wire Stitch

Wire stitch is a stitch often used in millinery. I recently used the stitch to attach wire around the rim of the wool fedora.
Wire stitch is simply a blanket stitch used to attach a piece of wire to fabric. You will need to hold your wire in position on the end of your fabric. The next step is to push the needle through the fabric from back to front. Do the same stitch again, through the same place and going from back to front. One you pull the needle through this will leave you with a loop going over the wire and holding it in place. Push your needle through the loop you have just made. Move a short distance along and repeat the process.

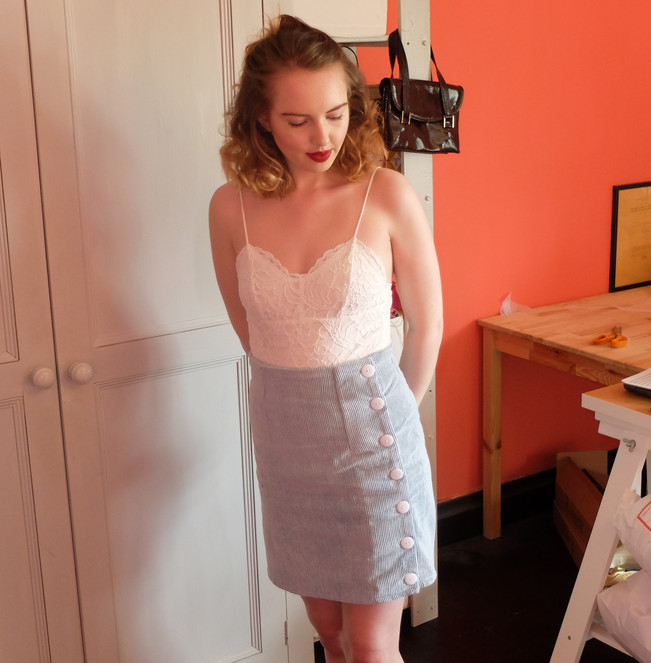
Tilly and the Buttons Arielle Skirt

I've been looking for the perfect button front a-line mini skirt in shops but I just couldn't find it. I have now given up and decided to make my own. Tilly and the Buttons have a great pattern called the Arielle skirt, which interestingly buttons asymmetrical.

Fabric-I made my skirt out of blue corduroy I had lying around the house.

What Else will you need- To make the skirt you'll need interfacing for the facings and between 6-8 buttons.

Pattern- I bought the paper pattern from Tilly and the Buttons website


Difficulty- This was a very simple make with easily understandable instructions. 

Shape and Fit- The skirt is a very flattering shape.

Overall, I think this is a great pattern and I've finally got a a-line skirt to add to my wardrobe. I paired it with the Lace Scallop Body from Topshop

Sunday, 11 September 2016

Stab Stitch

This stitch is incredibly easy and incredibly simple. If you do this stitch well it can be practically invisible. I have previously mention Stab Stitch in my post about the fedora I made. In this case I used the stitch for the ribbon around the brim.
Stab stitch is like a running stitch but much smaller. The needle is put through the fabric diagonally so there are spaces between the stitches.

The Secret World of Millinery: How to make a Fedora

The word Fedora comes from a play "Fedora" by Victorien Sardou . In 1882, the actress Sarah Bernhardt played the role Princess Fedora Romanoff and wore a centre creased soft brim hat. The hat also became popular choice for women's rights activist's. It wasn't until the 1920's, that men began wearing fedoras (popularised by Prince Edward).

Now I've decided to make my own. Using a Stetson crown block and wide circular brim block. I used two bottle green wool felt capeline which I steamed and stretched over the two blocks.


Traditionally a  milner would sew the entire hat by hand so that's what I did too. Putting the hat together requires three different hand stitches; wire stitch, back stitch and stab stitch.

Wire Stitch

Wire stitch is the stitch I used to sew the wire round the brim.

Back Stitch

Back stitch is one of the essential hand stitches. I used it to attach the crown and brim.

Stab Stitch
Stab stitch is the stitch I used to sew petersham around the edge of the brim and sew in the hat band.

After hours and hours of hand sewing, all that's left to do is add a hat band. Then it will be ready to wear. 

The Dressmaker

I'm a costume making student, currently studying in Glasgow. I've always had a love of  
clothes, particularly vintage. This blog will follow my costume making work, the new items I make for my wardrobe and my projects on the side.

You can follow me on instagram @isobelle_joyce
Visit my online costume portfolio @ http://isobellej.wixsite.com/costumeportfolio
Or take a look at my Etsy shop @handmadebyisobelle